Best Teriyaki Chicken Recipe (Irresistible, 30 Min)
This teriyaki chicken recipe replaced my regular takeout order the first time I made the sauce from scratch and realized how little it actually took. Soy sauce, brown sugar, garlic, and ginger simmer down into a glossy glaze in about the time it takes rice to cook.
What sold me on making this a regular dinner wasn’t just the flavor. It’s that the whole thing comes together in one skillet, with no marinating time required before you start cooking.
Why You’ll Love This Teriyaki Chicken Recipe
This teriyaki chicken recipe holds up against takeout for a few clear reasons.
- No marinating required. The chicken cooks straight in the pan, then gets coated in sauce at the end.
- Glossy, restaurant-style glaze. A cornstarch slurry thickens the sauce into something that clings to every bite.
- Simple pantry ingredients. No specialty sauces beyond soy sauce and mirin, both easy to find.
- Naturally customizable heat. Red pepper flakes are optional, so it works for spice lovers and picky eaters alike.
- Meal-prep friendly. This reheats well for lunches throughout the week.
Recipe Snapshot
- Servings: 4 servings
- Difficulty: Easy
- Cuisine/Course: Japanese-Inspired, Main Dish
- Prep Time: 10 minutes
- Cook Time: 20 minutes
- Total Time: 30 minutes
What makes teriyaki sauce taste different from regular soy sauce? Teriyaki sauce gets its distinct sweet, glossy character from simmering soy sauce with brown sugar, garlic, ginger, and mirin, then thickening it with a cornstarch slurry so it clings to the chicken instead of running off.
Ingredients
For the Chicken
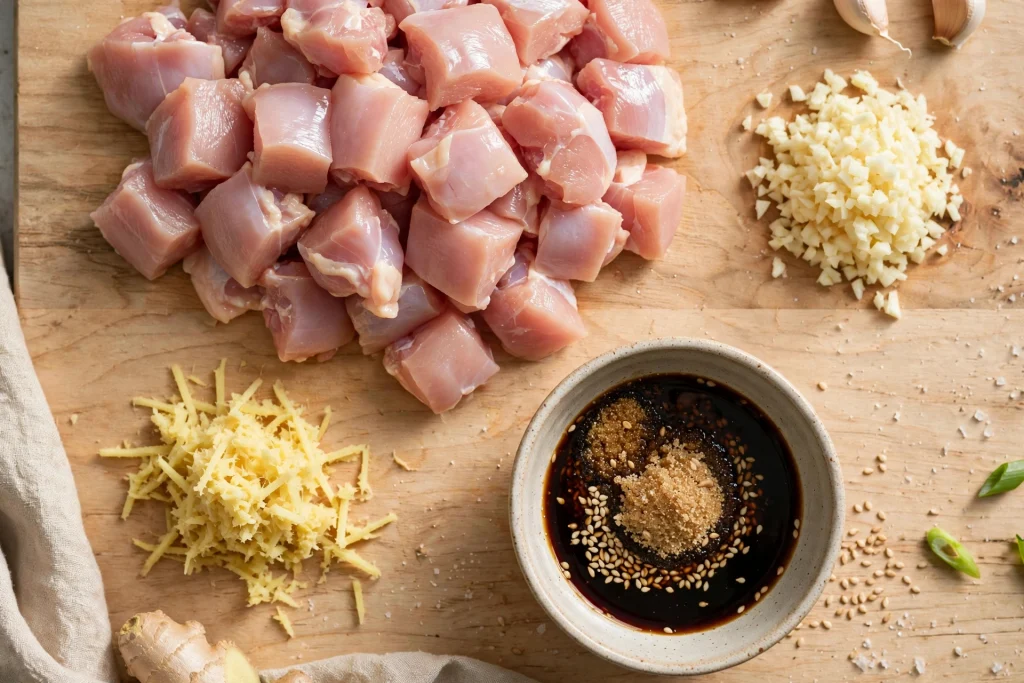
- 1.5 lbs (680 g) boneless, skinless chicken thighs, cut into bite-sized pieces (thighs stay juicier than breast in a quick sear, though breast works if you prefer leaner meat)
- 1 tbsp vegetable oil
- Salt and black pepper, to taste
For the Teriyaki Sauce
- 1/2 cup (120 ml) low-sodium soy sauce (a gluten-free tamari can substitute for a gluten-free version)
- 3 tbsp brown sugar, packed
- 2 tbsp mirin (a sweet rice wine; substitute with 2 tbsp rice vinegar plus 1 tsp extra sugar for an alcohol-free version)
- 3 garlic cloves, minced
- 1 tbsp fresh ginger, grated
- 1 tbsp cornstarch mixed with 2 tbsp water (a slurry that thickens the sauce)
- 1/4 tsp red pepper flakes, optional
For Serving
- 3 cups cooked white or brown rice
- 2 green onions, thinly sliced
- 1 tbsp toasted sesame seeds
- Steamed broccoli, optional
Recipe Timing
- Prep Time: 10 minutes
- Cook Time: 20 minutes
- Rest Time: none required
- Total Time: 30 minutes
Before You Start
- Cook your rice first, or start it before the chicken, since this teriyaki chicken recipe comes together quickly once the pan is hot.
- Cut the chicken into evenly sized pieces so it cooks at the same rate.
- Whisk together the soy sauce, brown sugar, mirin, garlic, and ginger in a small bowl ahead of time so the sauce is ready to pour in once the chicken is browned.
How to Make Teriyaki Chicken
Cooking the Chicken
- Season the chicken pieces with a pinch of salt and pepper.
- Heat the vegetable oil in a large skillet over medium-high heat. Add the chicken in a single layer and cook for 6 to 7 minutes, stirring occasionally, until browned on the outside and no longer pink in the center.
- Confirm the chicken has reached an internal temperature of 165°F (74°C) with a meat thermometer, following USDA safe minimum internal temperature guidance if you want to double-check.
Food safety note: wash your hands and any surfaces that touched the raw chicken with hot, soapy water before they touch any other ingredient.
Building the Sauce
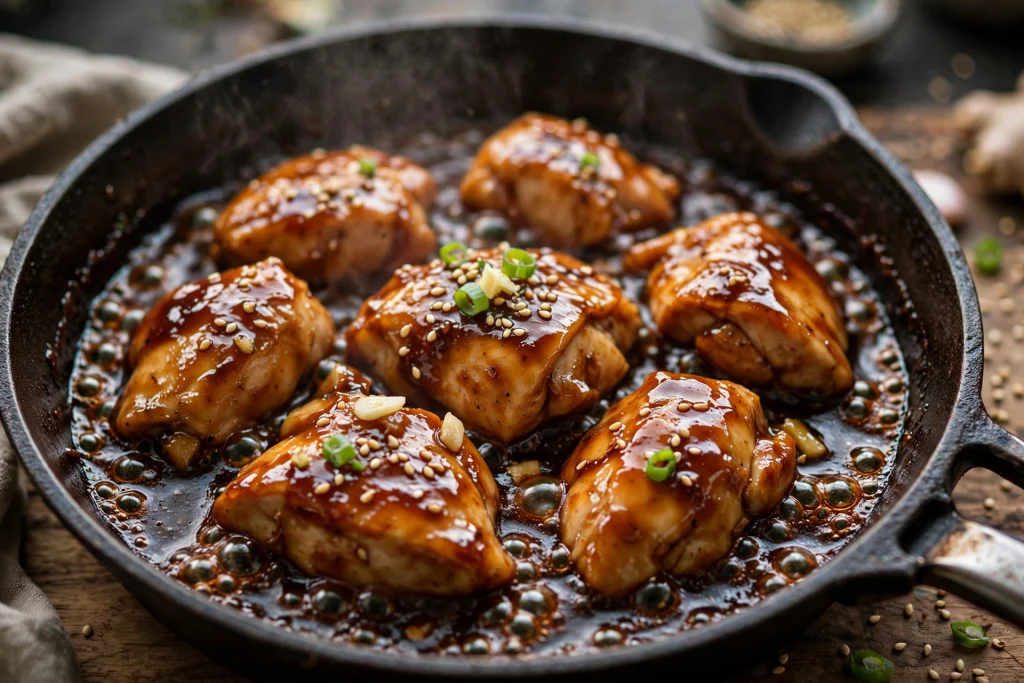
- Reduce the heat to medium. Pour the pre-mixed soy sauce, brown sugar, mirin, garlic, and ginger into the skillet with the chicken.
- Bring to a gentle simmer and cook for 2 to 3 minutes, stirring occasionally. Why this works: simmering the aromatics directly with the chicken and sauce lets the garlic and ginger mellow into the glaze instead of tasting sharp and raw.
- Stir the cornstarch slurry once more, then pour it into the skillet. Stir continuously for 1 to 2 minutes until the sauce thickens into a glossy glaze that coats the chicken. Why this works: adding the cornstarch slurry at the end, once the sauce is already simmering, thickens it quickly without needing a long reduction time, which would otherwise dry out the chicken.
💡 Quick Tip: If the sauce thickens too much before you’re ready to serve, loosen it with a small splash of water.
Serving
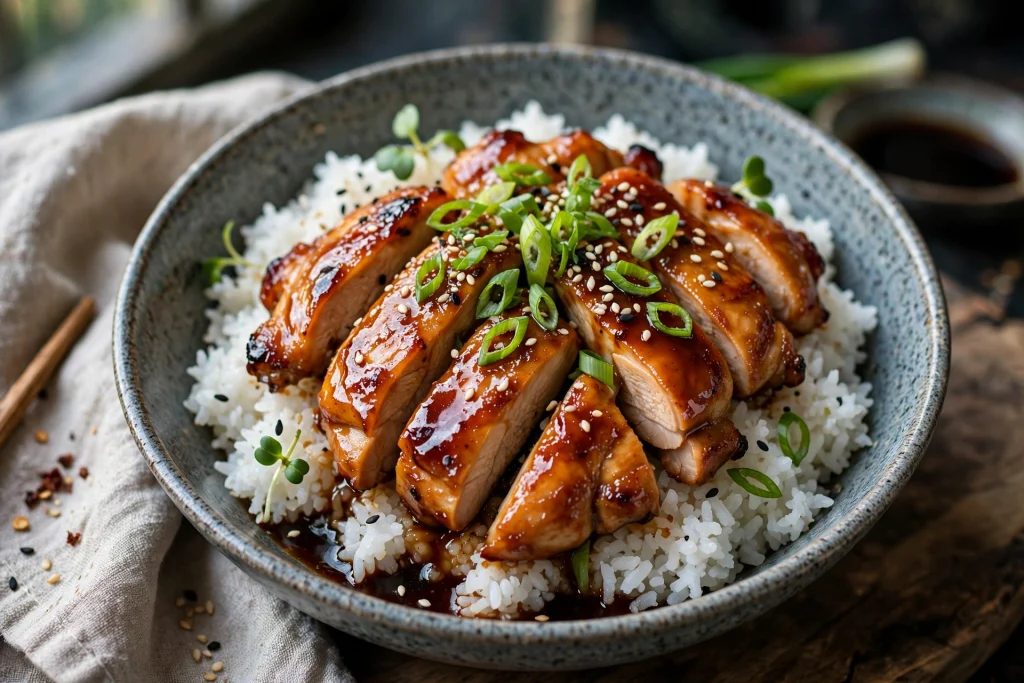
- Divide the rice among bowls and top with the teriyaki chicken and sauce. Garnish with sliced green onions and sesame seeds.
Common Mistakes and Troubleshooting
Problem: The sauce stays thin instead of glazing the chicken. Why: The cornstarch slurry wasn’t stirred right before adding, so the cornstarch settled at the bottom of the bowl and only water made it into the pan. Fix: Stir the slurry again immediately before pouring it in, and make sure the sauce is actively simmering when it goes in.
Problem: The chicken turns out dry. Why: It was cooked too long before the sauce was added, or cut into pieces that were too small and overcooked quickly. Fix: Cut chicken into evenly sized, bite-sized pieces, and pull it as soon as it’s cooked through rather than browning it excessively first.
Problem: The sauce tastes overly salty. Why: Regular soy sauce was used instead of low-sodium, which becomes more concentrated as the sauce reduces. Fix: Stick with low-sodium soy sauce, and taste the sauce before serving to adjust if needed.
Variations and Substitutions
- Chicken breast swap: Use boneless, skinless chicken breast instead of thighs; cut into similar-sized pieces and watch the cook time closely, since breast can dry out faster.
- Baked version: Toss the raw chicken pieces in the sauce, spread on a lined sheet pan, and bake at 400°F (200°C) for 18 to 20 minutes until cooked through.
- Extra vegetables: Add broccoli florets or sliced bell peppers to the skillet during the last few minutes of cooking.
- Spicier version: Increase the red pepper flakes, or stir in a small spoonful of sriracha along with the sauce.
Allergen Information
Contains: soy, gluten.
- For a gluten-free version, substitute the soy sauce with gluten-free tamari.
- This recipe does not contain dairy, egg, nuts, or shellfish as written. This information reflects the recipe as written and does not guarantee safety for your specific dietary needs or kitchen environment.
What to Serve With Teriyaki Chicken
- Steamed white or brown rice
- Steamed broccoli or sautéed bok choy
- A simple cucumber salad with rice vinegar
- Edamame for a light side
Storage, Reheating, Freezing, and Make-Ahead
- Refrigerator: Store in an airtight container for up to 4 days.
- Reheating: Warm in a skillet over medium heat or in the microwave, adding a small splash of water if the sauce has thickened too much.
- Freezer: The cooked chicken and sauce freeze well for up to 3 months; thaw overnight in the refrigerator before reheating. Freeze separately from the rice for the best texture.
- Make-ahead: The sauce mixture can be whisked together up to 3 days ahead and stored in the fridge, ready to pour in once the chicken is cooked.
Nutrition Information (Per Serving, Based on 4 Servings, Chicken and Sauce Only)
- Calories: 310
- Protein: 29 g
- Carbohydrates: 15 g
- Fat: 14 g
- Fiber: 0 g
- Sugar: 11 g
- Sodium: 720 mg
Values are approximate and may vary based on exact ingredients and brands used and do not include rice or optional sides. Visit also
Frequently Asked Questions
Can I make teriyaki chicken ahead of time? Yes, the sauce can be mixed up to 3 days ahead, and the cooked chicken reheats well, making this a solid meal-prep option.
Why is my teriyaki sauce thin instead of glossy? This usually happens when the cornstarch slurry wasn’t stirred again right before it was added, so the cornstarch settled and didn’t make it into the pan evenly.
Can I use chicken breast instead of thighs? Yes, chicken breast works well; just cut it into similar-sized pieces and watch the cook time closely, since breast tends to dry out faster than thighs.
How do I know the chicken is fully cooked? The chicken should show no pink remaining and reach an internal temperature of 165°F (74°C) when checked with a meat thermometer.
Is teriyaki chicken safe for someone with a gluten allergy? Not as written, since regular soy sauce contains gluten. Substituting gluten-free tamari makes this recipe safe for a gluten allergy.
Can I make this recipe without mirin? Yes, substitute the mirin with rice vinegar plus a touch of extra sugar for a similar sweet, tangy note without the alcohol.
If you make this one, I’d love to hear how it turned out. Leaving a star rating or a quick comment below genuinely helps other home cooks find this recipe.
Final Thoughts
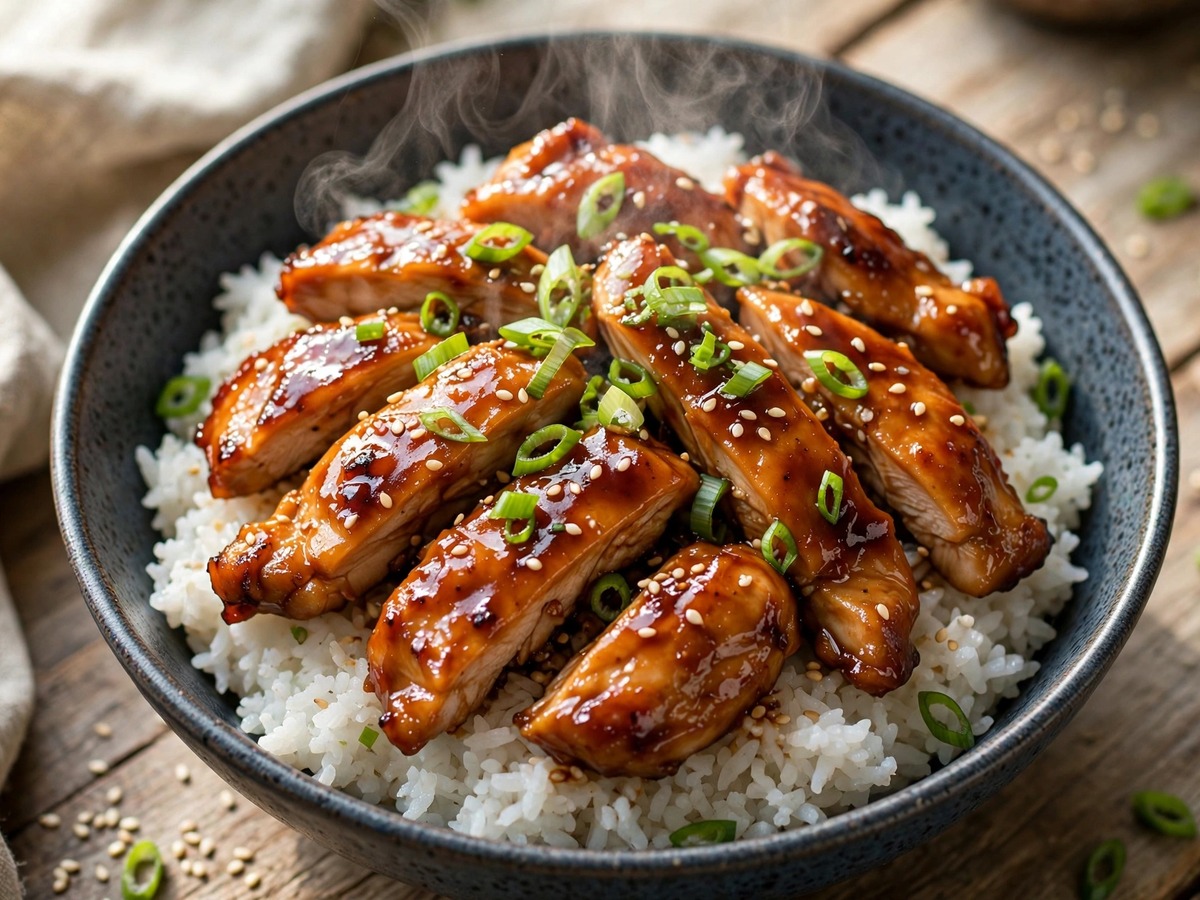
This teriyaki chicken recipe turns a short list of pantry staples into something that tastes as if it came from a restaurant kitchen: glossy sauce, tender chicken, and a bowl of rice to soak up everything left in the pan. Once you’ve made the sauce from scratch once, it’s hard to go back to the bottled version.
Best Teriyaki Chicken Recipe (Irresistible, 30 Min)
Ingredients
Method
- Cooking the Chicken
- Season chicken with salt and pepper.
- Heat oil, cook chicken 6 to 7 minutes until browned and no longer pink; confirm internal temp of 165°F (74°C).
- Building the Sauce 3. Pour pre-mixed soy sauce, brown sugar, mirin, garlic, and ginger into the skillet. 4. Simmer 2 to 3 minutes, stirring occasionally. 5. Stir cornstarch slurry again, pour in, stir 1 to 2 minutes until glossy and thickened.
- Serving 6. Serve over rice, garnished with green onions and sesame seeds.
One Comment
Comments are closed.