
Ultimate Smothered Chicken Recipe (55-Minute Comfort Food)
This smothered chicken starts with a good, hard sear, then spends the rest of its time quietly simmering in a rich, savory onion gravy until the meat is tender enough to pull apart with a fork. It’s the kind of dish that tastes like it took all afternoon, even though most of that time is hands-off.
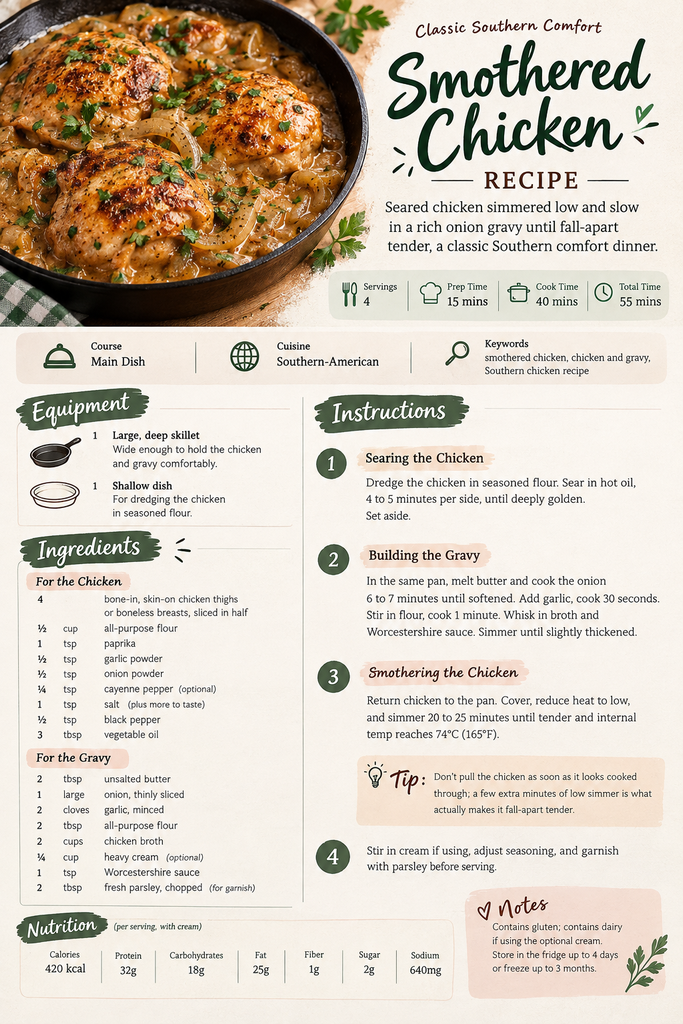
If you just need the short version: dredge the chicken in seasoned flour, sear it hard on both sides, build a gravy in the same pan with onions and broth, then return the chicken to simmer until it’s fully tender.
Why You’ll Love This Recipe
- The sear locks in flavor, and the simmer does the rest of the work for you
- One pan handles the chicken and the gravy, so cleanup stays manageable
- The gravy itself is reason enough to make this good over rice or mashed potatoes
- Reheats well, and some people genuinely prefer it the next day
- Works with either bone-in or boneless chicken without changing the method much
Recipe Snapshot
- Servings: 4
- Difficulty: Easy
- Diet Tags: High-Protein
- Cuisine / Course: Southern-American / Main Dish
- Prep Time: 15 minutes
- Cook Time: 40 minutes
- Total Time: 55 minutes

Ingredients
Recipe Timing
- Prep Time: 15 minutes
- Cook Time: 40 minutes
- Total Time: 55 minutes
For the Chicken
- 4 bone-in, skin-on chicken thighs (or boneless, skinless breasts, sliced in half horizontally)
- ½ cup (65 g) all-purpose flour (gluten; a gluten-free 1:1 flour blend works as a substitute)
- 1 teaspoon paprika
- ½ teaspoon garlic powder
- ½ teaspoon onion powder
- ¼ teaspoon cayenne pepper, optional
- 1 teaspoon salt, plus more to taste
- ½ teaspoon black pepper
- 3 tablespoons vegetable oil
For the Gravy
- 2 tablespoons unsalted butter (dairy)
- 1 large onion, thinly sliced
- 2 garlic cloves, minced
- 2 tablespoons all-purpose flour
- 2 cups (480 ml) chicken broth
- ¼ cup (60 ml) heavy cream, optional (dairy; adds richness but can be omitted for a lighter gravy)
- 1 teaspoon Worcestershire sauce
- 2 tablespoons chopped fresh parsley, for garnish
Allergen and Dietary Disclosure
This recipe contains gluten (flour) and, if using the optional heavy cream, dairy. For a gluten-free version, substitute a gluten-free 1:1 flour blend for both the dredge and the gravy thickener. For a dairy-free version, simply omit the heavy cream; the gravy will be slightly thinner but still flavorful. These substitutions have not been tested here and are offered as general guidance only. This recipe should not be considered guaranteed safe for anyone with a diagnosed food allergy; always check every ingredient label individually.
Preparation (Before You Start)
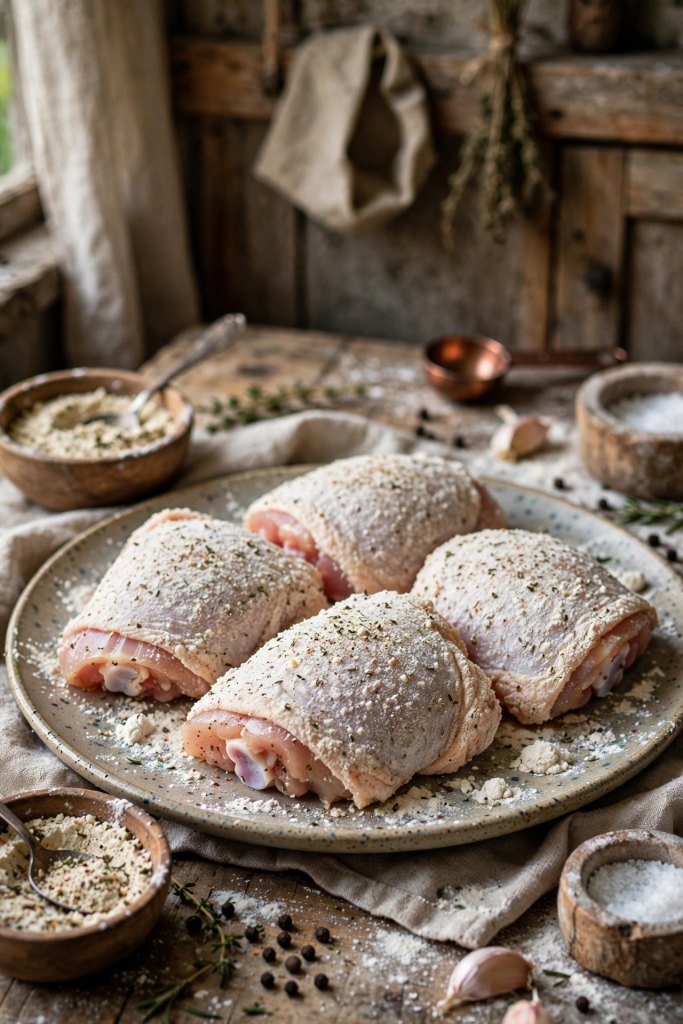
Pat the chicken completely dry with paper towels before dredging, since a wet surface prevents the flour from sticking properly and the sear from developing. Mix the flour with the paprika, garlic powder, onion powder, cayenne (if using), salt, and pepper in a shallow dish so it’s ready to go. Slice the onion thinly and have the broth measured out, since the gravy comes together quickly once the chicken is seared.
Step-by-Step Instructions
Searing the Chicken
Dredge each piece of chicken in the seasoned flour, shaking off the excess, and set aside on a plate. Heat the oil in a large, deep skillet over medium-high heat until shimmering. Add the chicken skin-side down (or presentation-side down for boneless pieces) and sear for 4 to 5 minutes per side, until deeply golden brown. Why this matters: a hard sear here builds a browned crust that adds real flavor to the gravy later, and rushing this step with lower heat just steams the chicken instead of browning it. According to the USDA’s guidance on safe minimum internal temperatures, chicken should reach 74°C (165°F) before it’s considered fully cooked, though at this stage the chicken will finish cooking through during the simmer.
Wash your hands and any surfaces that touched the raw chicken before continuing. Transfer the seared chicken to a plate and set aside.
Building the Gravy
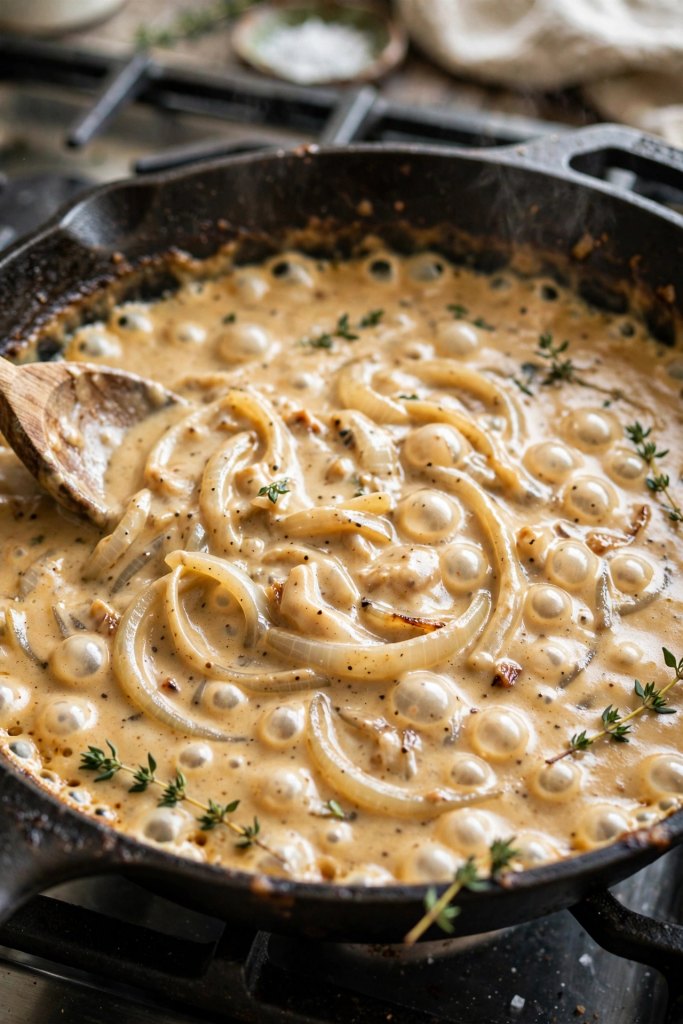
In the same pan, melt the butter over medium heat, scraping up any browned bits left from the chicken. Add the sliced onion and cook for 6 to 7 minutes, stirring occasionally, until deeply softened and lightly caramelized at the edges. Add the garlic and cook for 30 seconds until fragrant.
Sprinkle the flour over the onions and stir constantly for 1 minute to cook out the raw flour taste. Slowly pour in the chicken broth while whisking, then add the Worcestershire sauce. Simmer for 2 to 3 minutes until the gravy thickens slightly.
Smothering the Chicken
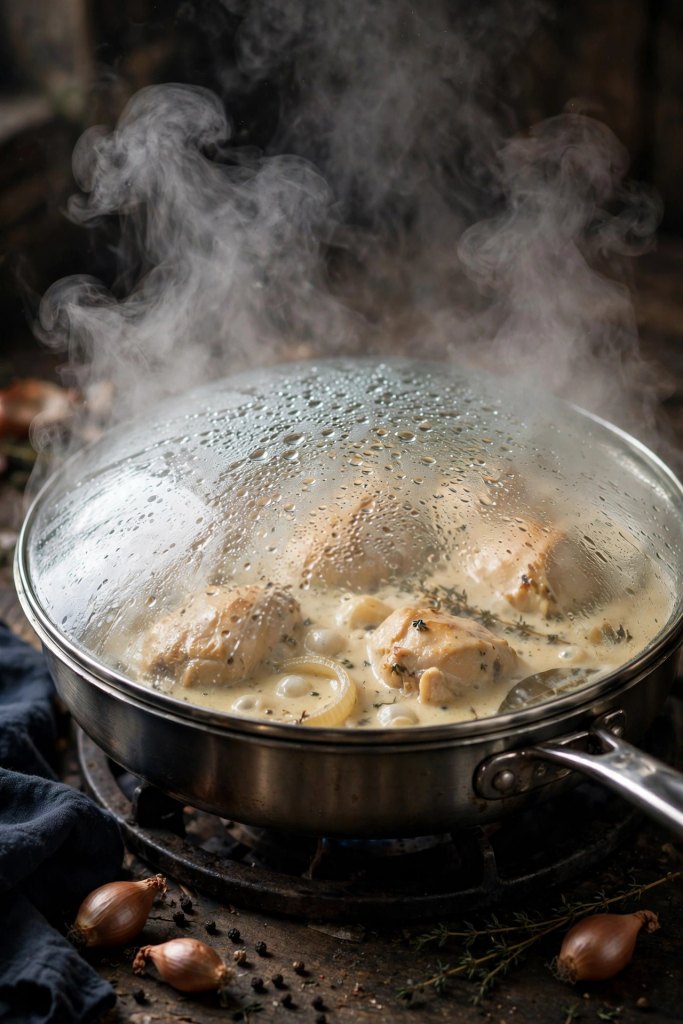
Return the seared chicken to the pan, nestling it into the gravy along with any juices that collected on the plate. Reduce the heat to low, cover, and simmer for 20 to 25 minutes until the chicken is fully cooked through and reaches an internal temperature of 74°C (165°F) at the thickest part, and the meat is tender enough to pull apart easily. Why this matters: the low, covered simmer is what actually tenderizes the chicken, since the gentle, moist heat breaks down connective tissue in a way a quick sear alone never could.
Stir in the heavy cream if using during the last few minutes, then taste and adjust salt and pepper. Garnish with fresh parsley before serving.
What Actually Makes This Smothered Chicken Work
The difference between a dish that’s genuinely tender and one that’s just chicken sitting in gravy comes down to time and heat level during the simmer. A lot of home versions rush this step, pulling the chicken as soon as it’s technically cooked through, before the connective tissue has had a real chance to break down. Letting it simmer covered on low heat for the full time, even a few minutes past when it looks done, is what actually produces that fall-apart texture the dish is known for.
Common Mistakes and Troubleshooting
Problem: The chicken skin never crisps up during the sear. Why: The chicken wasn’t dried well enough before dredging, or the pan wasn’t hot enough when the chicken went in. Fix: Pat the chicken thoroughly dry, and make sure the oil is shimmering before adding the chicken to the pan.
Problem: The gravy is too thin. Why: The flour wasn’t cooked long enough before the broth was added, or too much liquid was used relative to the flour. Fix: Let the gravy simmer a few extra minutes uncovered to reduce, stirring occasionally, until it coats the back of a spoon.
Problem: The chicken still tastes tough despite simmering. Why: It wasn’t simmered long enough, or the heat was too high, causing the outside to dry out before the inside fully tenderized. d. Fix: Keep the heat low and covered, and give it the full simmer time rather than pulling it early; a few extra minutes rarely hurts this dish.
Variations to Try
- Mushroom Version: add 8 oz sliced mushrooms to the onions and cook until browned before adding the flour
- Spicier Version: increase the cayenne in the dredge and add a pinch more to the gravy itself
- Bacon Version: Cook a few strips of chopped bacon in the pan first, then sear the chicken in the rendered fat for extra flavor
What to Serve With It
- Steamed white rice or creamy mashed potatoes
- Buttermilk biscuits for soaking up the gravy
- Simple sautéed green beans or collard greens
Storing and Reheating
Store leftovers in an airtight container in the fridge for up to 4 days. This dish also freezes well for up to 3 months; thaw overnight in the fridge before reheating. Reheat gently on the stovetop over low heat, covered, with a splash of broth to loosen the gravy if it’s thickened too much in the fridge.
Nutrition Information
(Per serving, based on 4 servings, with heavy cream)
- Calories: approximately 420
- Protein: approximately 32 g
- Carbohydrates: approximately 18 g
- Fat: approximately 25 g
- Fiber: approximately 1 g
- Sugar: approximately 2 g
- Sodium: approximately 640 mg
Values are approximate and may vary based on the exact ingredients and brands used.
Frequently Asked Questions
Can I make this ahead of time?
Yes, it actually reheats very well, and some people prefer it the next day once the flavors have settled. Store the chicken and gravy together in the fridge and reheat gently on the stovetop.
Why is my gravy too thin?
This usually happens when the flour wasn’t cooked long enough before the broth went in, or the gravy wasn’t simmered long enough afterward. Let it reduce a few extra minutes, stirring occasionally, until it visibly thickens.
Can I use chicken breasts instead of thighs?
Yes, boneless skinless breasts work well; slice them in half horizontally so they’re a similar thickness to thighs, which helps them cook evenly and stay tender during the simmer.
Can I freeze this dish?
Yes, it freezes well for up to 3 months. Thaw overnight in the refrigerator before reheating gently on the stovetop for the most even results.
How do I know the chicken is fully cooked?
It should reach an internal temperature of at least 74°C (165°F) at the thickest part, and by the end of the simmer time, it should also be tender enough to pull apart easily with a fork.
Is this recipe suitable for someone with a gluten or dairy allergy?
Not as written, since it contains gluten from the flour and, if the optional cream is used, dairy. Substitutions are suggested in the allergen section above, but they haven’t been specifically tested for allergy safety, so anyone with a diagnosed allergy should check every ingredient carefully.
Conclusion
Smothered chicken earns its place as a comfort-food staple because the technique rewards patience more than skill: sear it well, then let the low simmer do the rest. Once you’ve made the gravy from scratch a couple of times, it stops feeling like a project and just becomes the thing you make when you want dinner to feel like more effort than it.


2 Comments
Comments are closed.