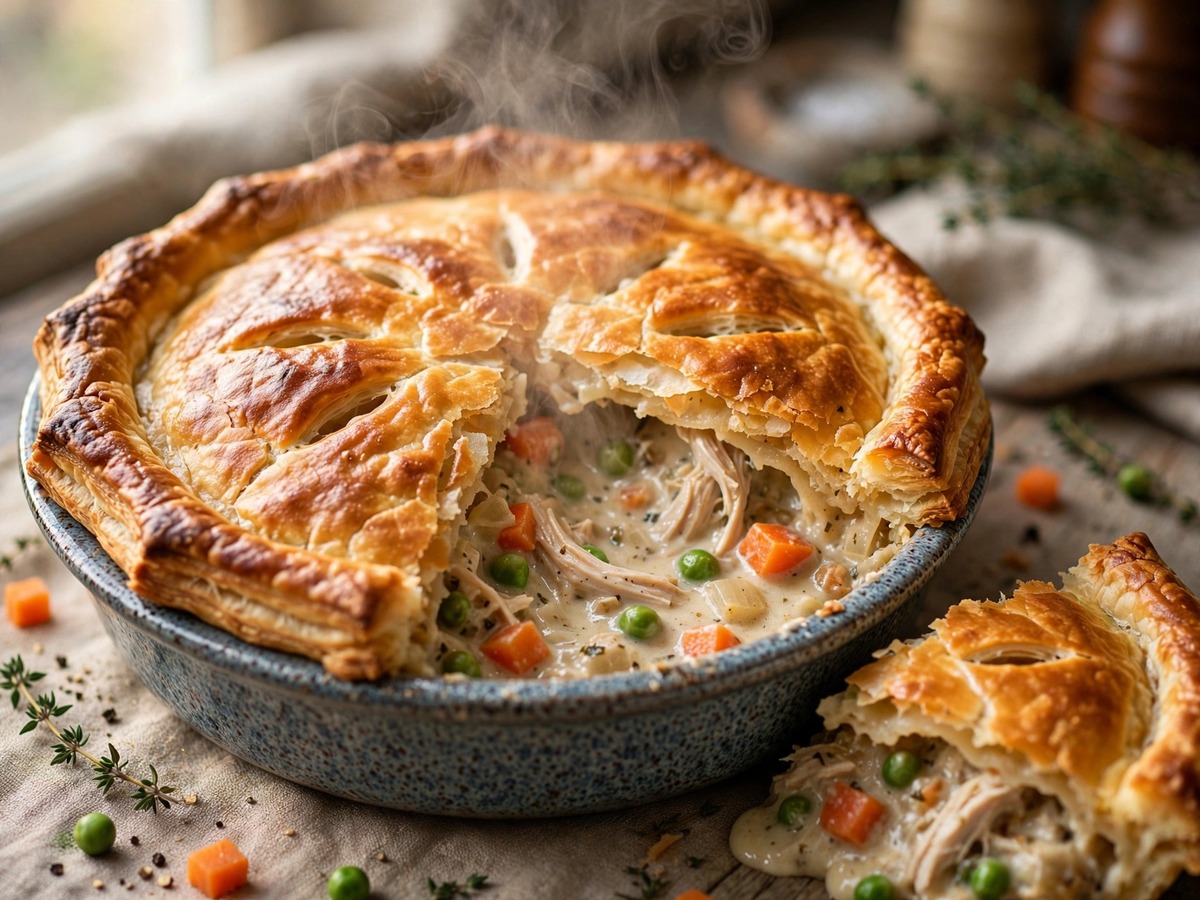
Foolproof Easy Chicken Pot Pie (One Pan, 50 Minutes)
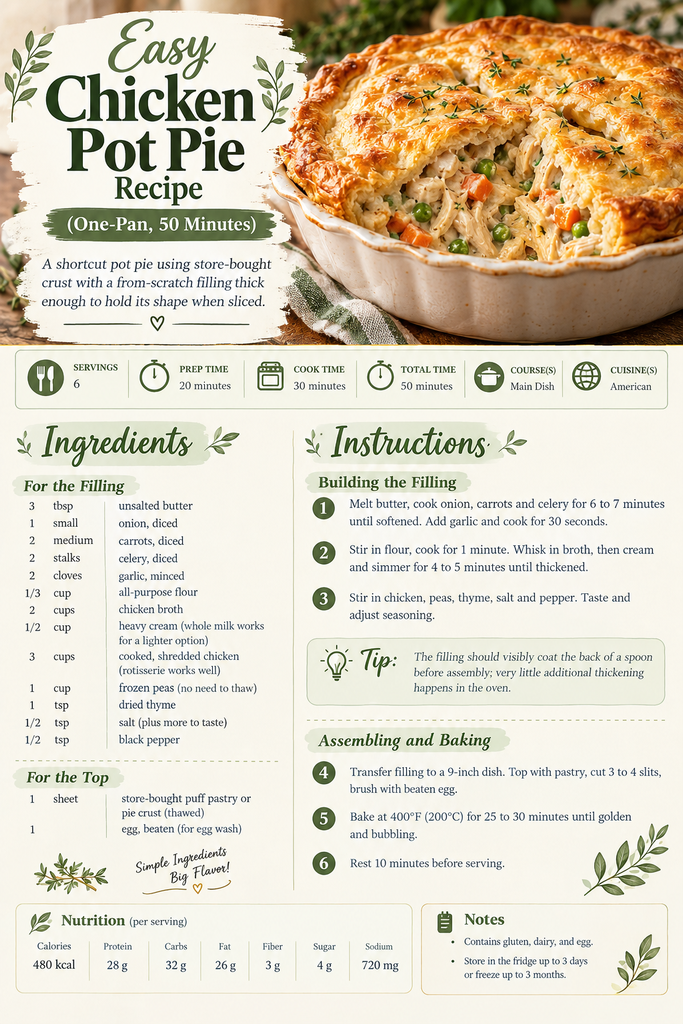
This easy chicken pot pie skips the homemade crust without skipping the part that actually matters: a thick, properly seasoned filling that holds its shape when you cut into it instead of running across the plate. Store-bought puff pastry or pie crust handles the top, and the filling comes together in one pan while the oven preheats.
If you just need the short version: cook the vegetables, build a roux-based filling with broth and cream, stir in shredded chicken, top with store-bought crust, and bake until golden and bubbling.
Why You’ll Love This Recipe
- Store-bought crust cuts the effort in half without a noticeable drop in quality
- The filling thickens properly, so it doesn’t turn soupy when sliced
- Works with rotisserie chicken, making it realistic on a weeknight
- One pan for the filling, one dish for baking, minimal cleanup
- Freezes well either before or after baking
Recipe Snapshot
- Servings: 6
- Difficulty: Easy
- Diet Tags: High-Protein, Freezer-Friendly
- Cuisine / Course: American / Main Dish
- Prep Time: 20 minutes
- Cook Time: 30 minutes
- Total Time: 50 minutes
Ingredients
Recipe Timing
- Prep Time: 20 minutes
- Cook Time: 30 minutes
- Total Time: 50 minutes
For the Filling
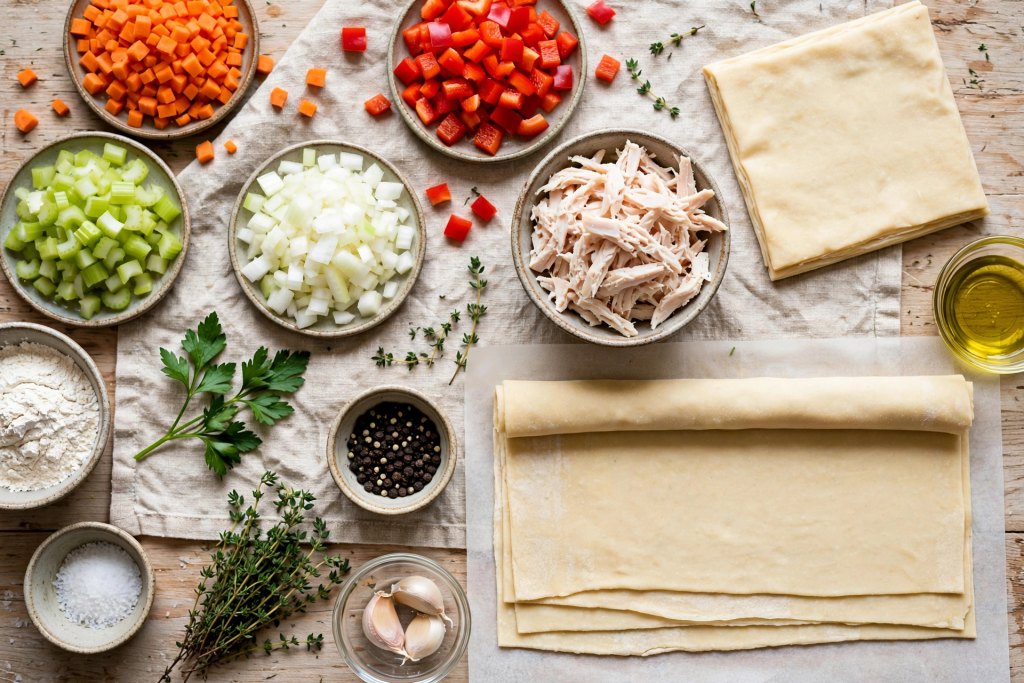
- 3 tablespoons unsalted butter (dairy)
- 1 small onion, diced
- 2 medium carrots, diced
- 2 celery stalks, diced
- 2 garlic cloves, minced
- ⅓ cup (42 g) all-purpose flour (gluten; a gluten-free 1:1 flour blend works as a substitute)
- 2 cups (480 ml) chicken broth
- ½ cup (120 ml) heavy cream (dairy; whole milk works for a lighter filling)
- 3 cups cooked, shredded chicken (rotisserie chicken works well)
- 1 cup frozen peas, no need to thaw
- 1 teaspoon dried thyme
- ½ teaspoon salt, plus more to taste
- ½ teaspoon black pepper
For the Top
- 1 sheet store-bought puff pastry or refrigerated pie crust, thawed (gluten; check for a gluten-free crust option if needed)
- 1 egg, beaten, for egg wash (egg)
Allergen and Dietary Disclosure
This recipe contains gluten (flour, crust), dairy (butter, cream), and egg (egg wash). For a gluten-free version, substitute a gluten-free 1:1 flour blend and a gluten-free crust. For a dairy-free version, use a plant-based butter and an unsweetened plant-based cream alternative. For an egg-free version, brush the crust with a little plant milk instead of egg wash; the crust will be slightly less glossy. These substitutions have not been tested here and are offered as general guidance only. This recipe should not be considered guaranteed safe for anyone with a diagnosed food allergy; always check every ingredient label individually.
Preparation (Before You Start)
Take the pastry out of the freezer or fridge so it has time to thaw while you work, since cold, stiff pastry cracks when you try to unfold it. If you’re not using rotisserie chicken, cook and shred the chicken ahead of time, confirming it reaches an internal temperature of at least 74°C (165°F) if cooking from raw. The USDA’s guidance on safe minimum internal temperatures covers this in detail. Preheat the oven to 200°C (400°F) and dice all the vegetables before turning on the stove.
Step-by-Step Instructions
Building the Filling
Melt the butter in a large skillet or Dutch oven over medium heat. Add the onion, carrots, and celery and cook for 6 to 7 minutes, stirring occasionally, until the vegetables have softened noticeably. Add the garlic and cook for 30 seconds until fragrant.
Sprinkle the flour over the vegetables and stir constantly for 1 minute. Why this matters: cooking the flour for a full minute before any liquid goes in removes the raw, pasty taste that otherwise carries through the entire filling, and it’s the step most often rushed.
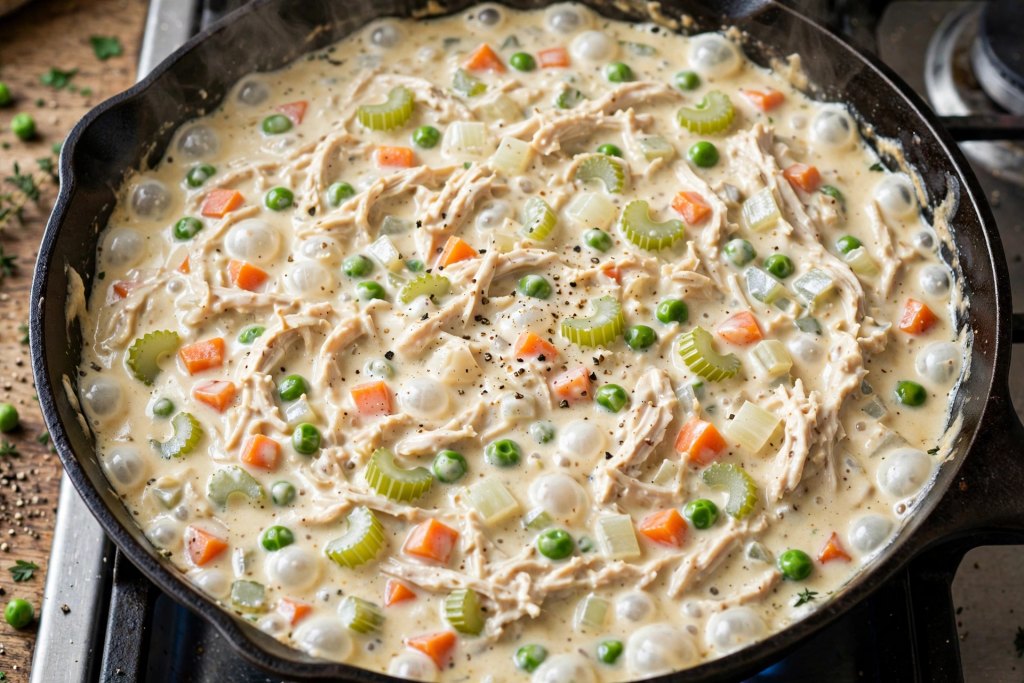
Slowly pour in the broth while whisking, then add the cream. Simmer for 4 to 5 minutes until the mixture thickens enough to coat the back of a spoon. Why this matters: this is the difference between a filling that sets and one that turns soupy under the crust, so let it get genuinely thick in the pan rather than hoping the oven will do it for you.
Stir in the shredded chicken, frozen peas, thyme, salt, and pepper. Taste and adjust the seasoning now, since it’s much harder to fix once the crust is on.
Assembling and Baking
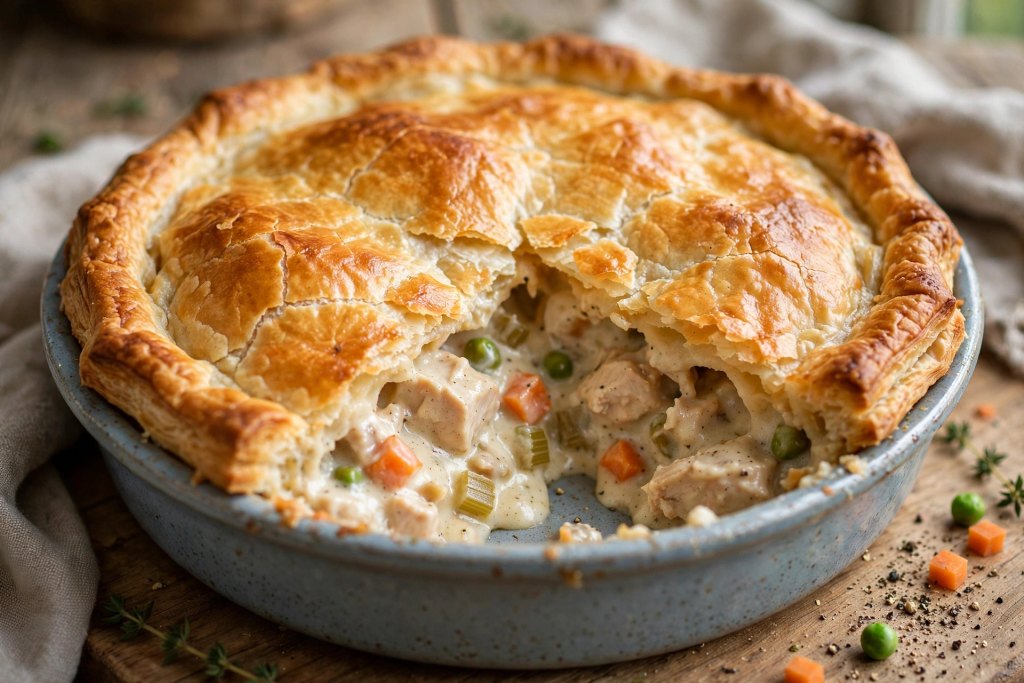
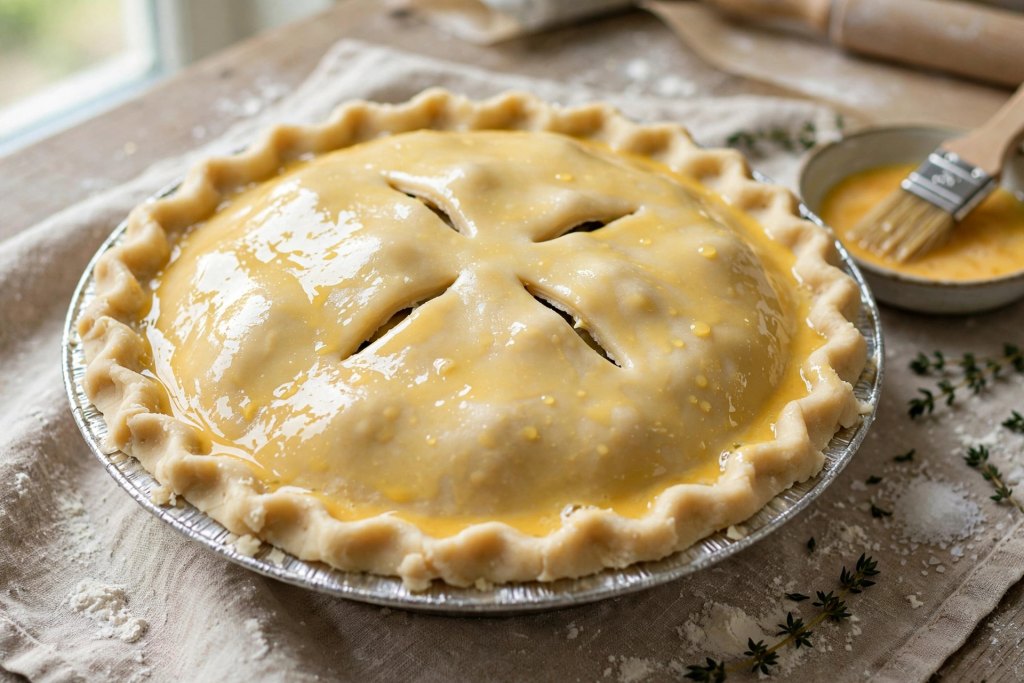
Transfer the filling to a 9-inch pie dish or a similar-sized baking dish. Unfold the thawed pastry over the top, trimming any significant overhang, and press the edges lightly against the rim. Cut 3 or 4 small slits in the center of the crust, then brush the surface with the beaten egg.
Since the egg wash involves raw egg, wash your hands and the pastry brush afterward before handling anything else.
Bake at 200°C (400°F) for 25 to 30 minutes, until the crust is deep golden brown and the filling is visibly bubbling through the slits. Why this matters: those slits aren’t decorative; they let steam escape, which keeps the crust from puffing up and separating from the filling underneath or turning soggy from trapped moisture.
Let it rest for 10 minutes before serving so the filling sets enough to hold its shape when sliced.
What Actually Makes This Chicken Pot Pie Work
Almost every complaint about pot pie comes back to one thing: a filling that was too thin when it went into the dish. People assume the oven will thicken it further, but baking mostly just heats the filling through and cooks the crust; very little additional reduction happens under a sealed pastry lid. Getting the filling genuinely thick on the stovetop, thick enough that a spoon dragged through it leaves a brief trail, is what separates a sliceable pot pie from one that floods the plate.
Common Mistakes and Troubleshooting
Problem: The filling is runny after baking. Why: It wasn’t thickened enough on the stovetop before assembly. Fix: Simmer the filling until it visibly coats the back of a spoon before transferring it to the baking dish; it should look slightly thicker than you think it needs to be.
Problem: The crust is pale or soggy on the bottom edges. Why: No steam vents were cut, or the oven temperature was too low to crisp the pastry properly. Fix: Always cut slits in the top crust, and bake at a full 200°C (400°F) rather than a lower temperature.
Problem: The filling tastes bland despite following the recipe. Why: Seasoning was added early and never adjusted after the broth and cream diluted it. Fix: Taste and adjust the salt right before the crust goes on, since that’s the last point where it’s easy to correct.
Variations to Try
- Puff Pastry vs. Pie Crust: Puff pastry gives a lighter, flakier top, while refrigerated pie crust produces a sturdier, more traditional result
- Mushroom Version: add 8 oz sliced mushrooms with the onions and cook until browned for a deeper, earthier filling
- Biscuit-Topped Version: skip the pastry entirely and drop spoonfuls of biscuit dough over the filling before baking
What to Serve With It
- A simple green salad with vinaigrette
- Roasted Brussels sprouts or green beans
- Crusty bread for the leftover filling
Storing and Reheating
Store leftovers covered in the fridge for up to 3 days. Reheat individual portions in the oven at 175°C (350°F) for 15 to 20 minutes to keep the crust crisp; the microwave works but leaves the pastry soft. This dish freezes well for up to 3 months, either baked or unbaked; bake from frozen with an extra 15 to 20 minutes, tenting with foil if the crust browns too quickly.
Nutrition Information
(Per serving, based on 6 servings)
- Calories: approximately 480
- Protein: approximately 28 g
- Carbohydrates: approximately 32 g
- Fat: approximately 26 g
- Fiber: approximately 3 g
- Sugar: approximately 4 g
- Sodium: approximately 720 mg
Values are approximate and may vary based on the exact ingredients and brands used.
Frequently Asked Questions
Can I make this ahead of time?
Yes, assemble everything except the egg wash, cover, and refrigerate for up to 24 hours. Brush with egg and bake straight from the fridge, adding about 5 extra minutes to the bake time.
Why is my filling watery?
This almost always means the filling wasn’t simmered long enough on the stovetop before assembly. Very little thickening happens in the oven under a sealed crust, so it needs to be thick before it goes in.
Can I use a bottom crust too?
You can, though it’s prone to going soggy under a wet filling. If you want one, blind-bake the bottom crust for about 10 minutes before adding the filling.
Can I freeze this dish?
Yes, it freezes well for up to 3 months, baked or unbaked. Bake from frozen with an extra 15 to 20 minutes, tenting the top with foil if it browns before the center is hot.
How do I know it’s fully heated through?
The filling should be visibly bubbling through the vents in the crust, and the crust itself should be deep golden brown rather than pale, which usually takes the full 25 to 30 minutes.
Is this recipe suitable for someone with a gluten, dairy, or egg allergy?
Not as written, since it contains all three. Substitutions are suggested in the allergen section above, but they haven’t been specifically tested for allergy safety, so anyone with a diagnosed allergy should check every ingredient carefully.
Conclusion
An easy chicken pot pie is worth keeping in rotation precisely because the shortcut, using a store-bought crust, costs almost nothing in quality while saving the most time-consuming part. Get the filling properly thick on the stovetop, and everything else about this recipe is close to automatic.



One Comment
Comments are closed.